What is it about first times that make them so special and memorable?
The first steps a baby takes has parents stumbling in their rush to reach for the camera to record the monumental event. The first grandchild. The first day of school (shiny shoes, new pencils, new bag… whee! nirvana for me and my siblings when we were kids!). The first visit from the tooth fairy. The first Christmas.
Then there’s the unforgettable first love (in nursery? mine was… uh, must I incriminate myself and let the world know that I was a late bloomer? heehee! I had my first crush in Grade 2–and I think I was mesmerized by the thick beard around his face more than anything else. 😆 )
If you stopped right now and asked yourself, what are the latest first’s you’ve experienced lately, would you be able to list them down and answer right away? Or would you have to pause as you traipse down memory lane, brows knotted in deep thought, as you try to recall the events of the last five months?
I was fascinated by the thought of First Anything today… and here are my five of my latest first’s!!! (Okay, you can accuse me of shameless–or shameful?–tooting, but hey, as we chanted in Chicago: we are worth it, right? 😉 )
First Time to Be Featured in a Graphic Design Blog!
What a thrill! What a pleasant surprise! What a COOL thing to discover! This little humble blog porch of mine was featured in two graphic design blogs last June 14th! The post that was featured was Photo Phun!
I almost fell off my chair in utter delight when I saw this:

Graphic Identity Blog Link
And this!
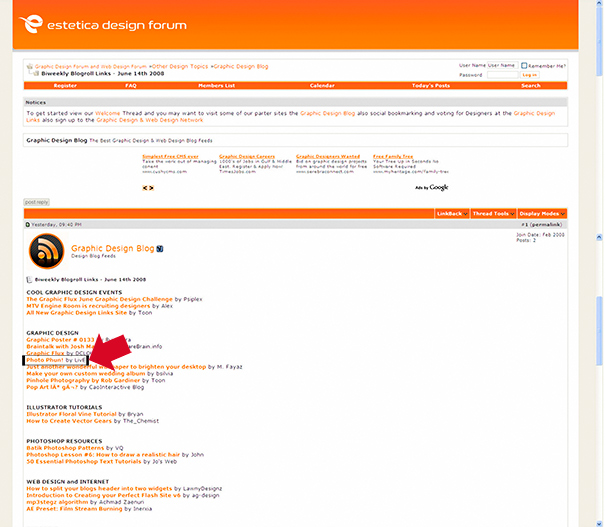
Estetica Design Forum Blog Link
A huge, happy THANK YOU to Estetica Design Forum and Graphic Identity!
First Time to Visit Chicago & New York
Totally awesome places! Loved The Bean at Chicago, eating deep dish pizza at Giordanos, walking and walking and walking around The Loop, dinner at Fultons by the River, and taking the Riverboat tour!

Chicago - Walking Along The Loop

Chicago Buildings from the Riverboat

View from the Riverboat

New York Times Square - the view from our hotel room window

The Ubiquitous NYC Taxis
More photos coming in the future… there are just thousands and thousands of them! 😀
First Time to Hug My Dearest Spraground Sistahs!
In person! What a thrill! This has got to be one of the most memorable and special experiences in my entire life! What a connection!
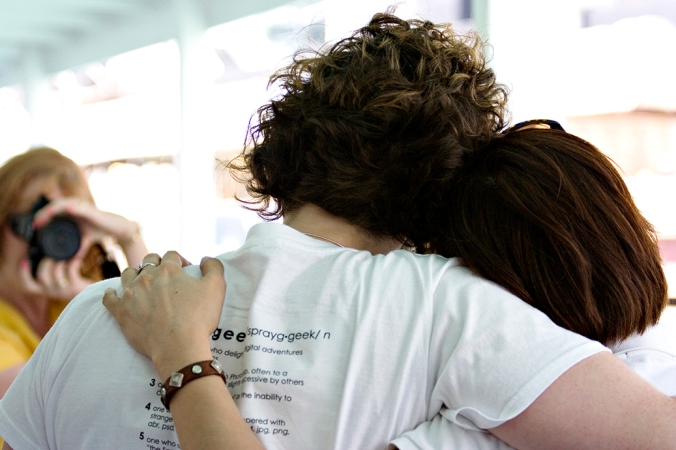
One of my favorite photos of Jes and me - taken by Susan

Love this photo taken by Jes!

Some of my absolute favorite people in the world! - Photo taken by Lisa
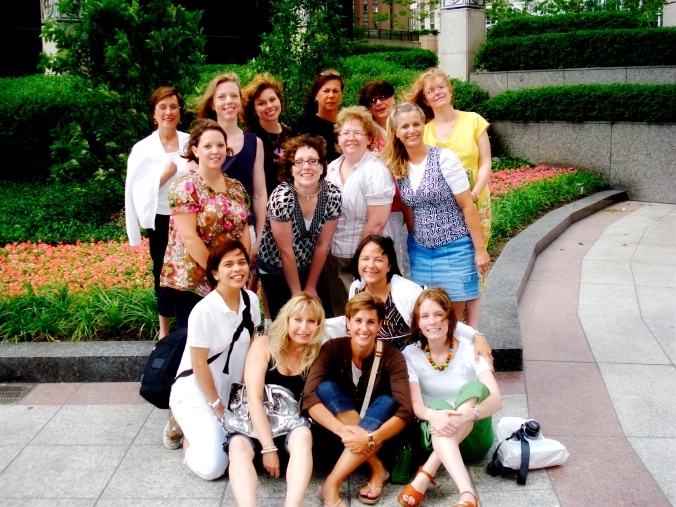
The Spraground Sistahs Take Over Windy City!
The only downside to this is that I end up missing them so much more now, and wish that the oceans were less wide and the lands were more spread out so that we could literally walk over to each other’s houses and give each other hugs in person anyday!
First Time to Do an Actual Hybrid Project
Ah… this one I was totally not sure about… but with a little modge podge, a little advice from my dear friend Lisa J (who won’t admit to being a creative crafter, but she is!), a little help from a carpenter friend who made the wooden box for me according to my specs, and a little help from my two sons who fixed the goodies/doggies inside it when it was done, I was able to play around with hybrid (yeah, so it was an adventure I’d been longing to do!) *and* use my heretofore unused-but-hoarded paper scrapping materials (and thus feel less guilty about the hoarding, haha) *and* come up with a birthday gift for my MIL who loves doggies!
This is what I started out with: a wooden shelf with partitions, made according to my specs, with 4 rows of 6 little box-houses. The entire thing was about 12in x 24in.
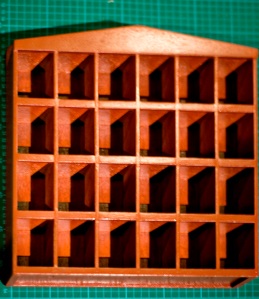
Step 1 - Begin with a wooden shelf painted in colors you love (I didn't love the color on this one, hence the decision to decoupage the entire thing! 😀 )

Step 2 - Modge-podge (yes, I've turned it into a verb!) patterned paper onto the sides of the shelf.

Step 3 - Cut patterned paper into vertical strips and modge-podge them onto vertical divisions of the shelf.

Step 4 - Do the same for the horizontal divisions of the shelf.

Step 5 - Cover top of shelf with patterned paper. Wash modge-podge off your hands in between applications in case you happen to be munching on chips. 😉

Step 6 - Cover the back of the shelf with patterned paper to complete the shelf's clothing. 🙂

Step 7 - Attach eyelets to chipboard flowers using the ever-reliable, handy-dandy Cropadile!

Step 8 - Attach other embellishments to the top of the shelf to complete the look.

Step 9 - Make it a family project (and allow yourself to take a break!) - Let kids take care of arranging the doggies on the shelf.

Step 10 - Voila! Stand back and clap your hands as you survey your first hybrid project... because you've finally put some of your paperscrappin' hoard of goodies to use!
Hee! This was fun while I did it… I’ve always loved crafts, and nothing beats the doubled fun of working on projects with kids… but… what can I say? I love digi first and always. 😆
And now… to continue the alliteration started with the Five First’s… let’s talk about First FREEBIES!
And yes, I know, I’ve been giving out freebies for almost as long as this blog porch came into existence, but it’s my…
First Time to Come Up with an Album Template Mini Freebie!
Woohoo! I am so happy about this, and even happier to share these with you!
Here’s how this all ties in with my first First up there and my fifth First down here. Remember the Photo Phun post (the one featured in the graphic design blogs up there)? Well, that all came about because we at the Spraground were having the most fun adventure, led by the awesome Jessica, of coming up with a photo a day for the month of May! And since I’d been wanting to print out those photos and put them in an album instead of keeping them hidden inside a folder in my compy, I decided to create an album for them.
When I make layouts, more often than not, I sketch in my trusty little graph notebook (
Moleskine graph notebooks ROCK!) how I want the layout to look. And then I translate that pencil sketch onto my computer with Photoshop! So I made a cover page sketch for the album and a few inside page sketches.
While I was working on moving that sketch onto my compy via Photoshop, I decided… hey, since I’m making a multi-photo page for the month of May (which has 31 days and therefore 31 places for photos), why don’t I make a similar template for 30 days? That way, if any of us decides to resume the Photo A Day adventure on any other month, we’d have a ready template for those months with less than 31 days?
And then, since my brain is known to dive into this sort of territorial waters–haha, I decided to go full-speed ahead and include February as well (both 29 and 28 days), to complete the entire range of possibilities!
So here are the different cover pages I made for my Photo A Day Album… and I’m sharing them with you, as always!
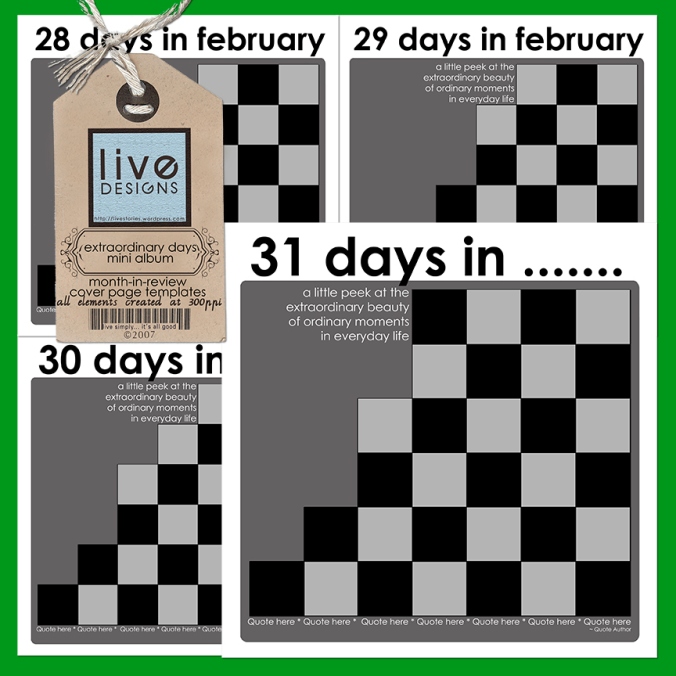
- LivEdesigns Extraordinary Days Cover Page Templates
When you use these templates, just type in the month that applies to your album where the ellipses are (I’ve left the text editable; feel free to change it!). I’ve also included a phrase to show where the journaling can fit in… and below there is an area for you to include a quote if you wish.
These templates come to you in .psd format. Use clipping masks to get your photos and digi paper onto the mats and photo masks. 🙂
Note: If you’re into making regular layout pages that feature months-in-review, I figure these should come in real handy as well!
Click here to get the mini album cover page templates.
ETA: Link removed. See post of September 24 for new link.
Now, I can’t just give you the cover and not give you the inside pages as well, right? 😉
Sooo… I created 3 inside page templates, each one of which is a single-photo template. There are two different portrait-oriented / vertical photo templates for the left and the right side of the album, depending on how your pages turn out; and there’s a single-photo template as well for landscape-oriented / horizontal photos.
I only made three templates because that’s all that I needed… and by using each one of them within the album, you can get an album that’s both pulled-together and unified!
Oh, and there’s a bonus inside as well! I created two black glass accents for use on the album pages… one is a black glass swirl and the other is a black glass circle cluster. I’m including them inside the .psd template files, but they are created on transparent backgrounds, so if you wish to use them in your other layouts as separate elements, feel absolutely free to do so (just read my TOU and don’t forget the credits! 😉 ).
I’m presently working on zipping up the inside page templates, but since it feels like forever since I last released a freebie (and I’m uber-excited to share these with you 😀 ) I decided to release these cover pages now and come back and post the inside page templates in a separate download, once I’m done zipping them up! So don’t forget to check back for them!
I’m going to be working on my Photo A Day album in the next 24 hours (after I get the inside pages zipped up and on their way to you!), and when I’ve got my layouts done, I’ll upload them to share with you. If you use these and create pages or even an album of your own, do link me up! I’d looove to see how you use these and I would love even more the chance to marvel at the marvelous creations you come up with!
Alrighty then! Back to the worktable! 🙂